ExplainedCreator StudioHousehold
Three-Point Lighting for Video Calls: Key, Fill and Back Light at Home
Three-point lighting uses a key, a fill and a back light to shape a face on camera. How to rebuild it at a home desk for calls with a window, lamps and LEDs.
5 min read
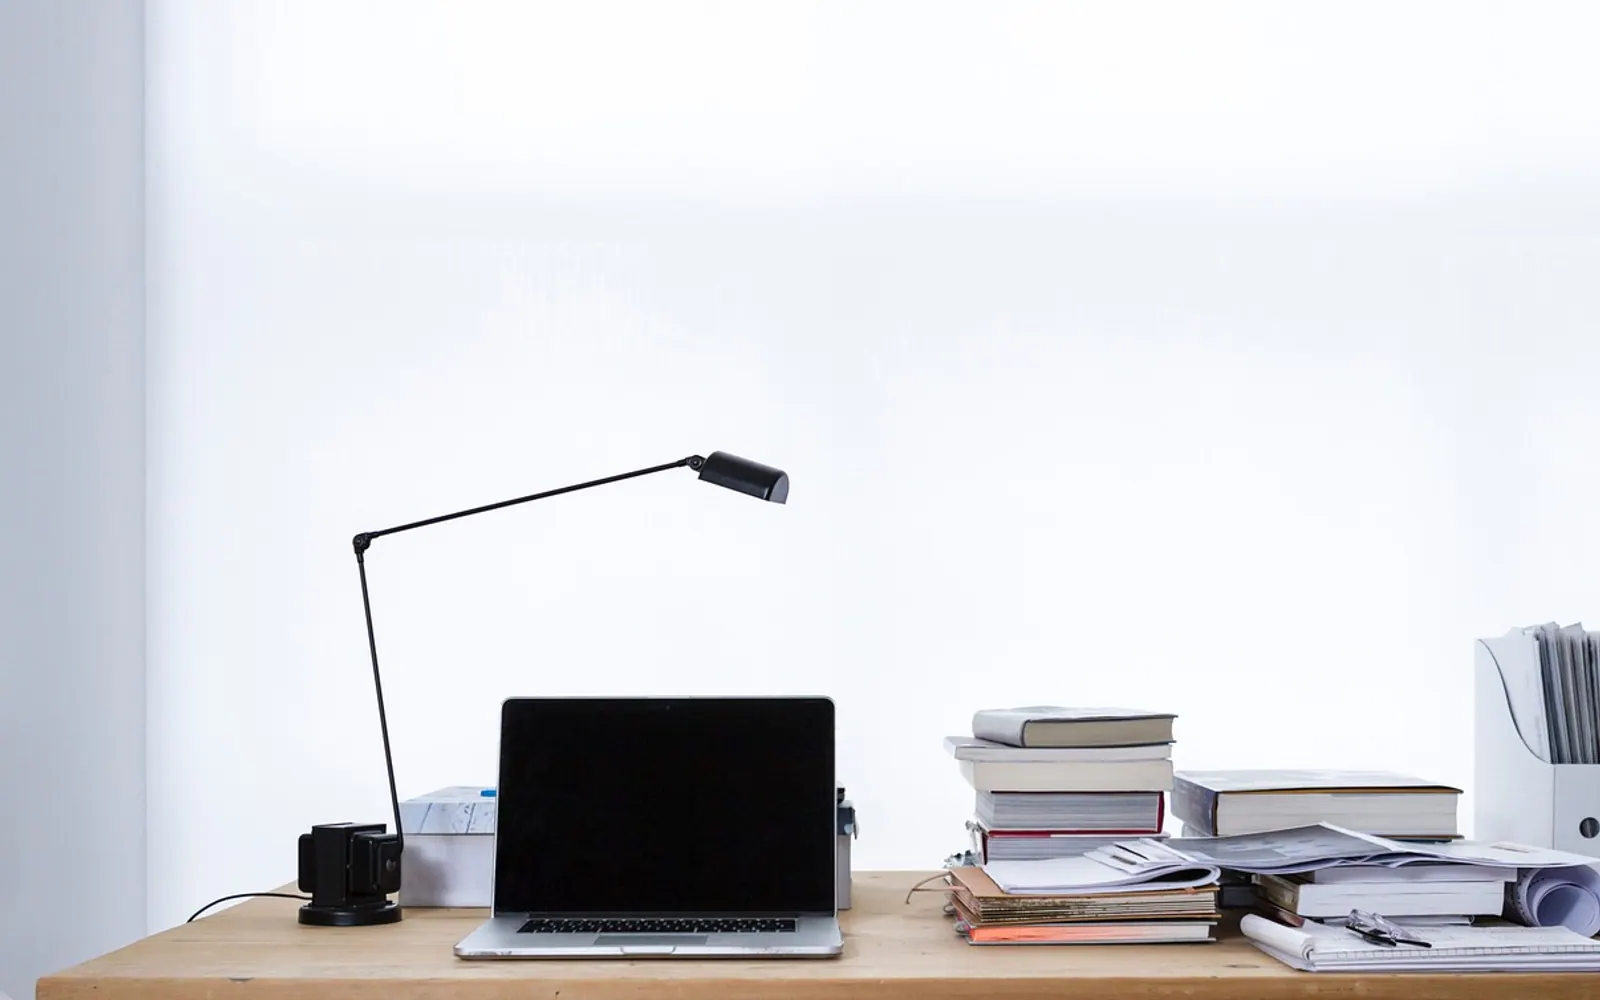
A face lit only by a laptop screen and a ceiling bulb tends to look grey, flat and slightly tired, however well the person slept. The fix used in film and television studios is called three-point lighting: one main light to show the face, a second, softer light to calm the shadows, and a third behind the subject to lift them away from the background. The same idea scales down to a home desk with nothing more than a window and two lamps.
The three lights at a glance
| Light | Where it goes | What it does | Home stand-in |
|---|---|---|---|
| Key light | About 45 degrees to one side, a little above eye level | Main source; shapes the face | A window, a desk lamp with a shade, a small LED panel |
| Fill light | On the opposite side, usually lower in brightness | Softens the shadows the key creates | A second lamp, a white wall, a sheet of white card |
| Back light | Behind and above, out of shot | Draws a thin bright edge on hair and shoulders | A small lamp on a shelf behind the chair |
The key light
The key does most of the work. Placed off to one side and slightly above the eyes, it lights the face with gentle modelling, so cheekbones and jawline read as three-dimensional. The larger the light source compared with the face, the softer the shadows. A window with daylight coming through it is an excellent key. A bare bulb is a poor one, because a small, bright point produces hard edges and shiny skin.
To soften a lamp, bounce it off a pale wall or put more distance and a lampshade between bulb and face. Any diffusion material must stay well clear of the bulb itself; LEDs run cooler than older bulbs, but no lamp should be wrapped.
The fill light
With a key on its own, one side of the face falls into shadow. The fill sits on the other side and lifts that shadow without erasing it. It should be noticeably dimmer than the key, and how much dimmer is a matter of taste: a strong difference looks dramatic, a gentle one looks friendly and open. If a second lamp is not available, a white wall or a sheet of foam board just out of frame can reflect some of the key back into the darker side.
The back light
Also called a rim or hair light, the back light sits behind the subject, aimed at the back of the head and shoulders. It adds a faint outline that separates a person from the wall behind them, which matters with dark hair against a dark room. On a call this light is optional. When there is space for it, a small lamp on a bookcase does the job, provided it does not shine straight into the lens.
Building it at a desk, step by step
- Sit facing a window or at an angle to it, never with the window behind you. A bright background turns the camera's automatic exposure against your face and leaves a silhouette.
- Raise the camera to eye level with a stand or a stack of books, so the light hits the face rather than the ceiling.
- Switch off the overhead light, or keep it low as gentle room light. Directly above, it carves dark hollows under the eyes.
- Place a lamp on the side opposite the window as fill, starting dim and raising it slowly.
- Add a back light if there is space, then check the result in the call app's preview.
- Where the app or webcam software allows it, lock exposure and white balance so the picture stops drifting as clouds move.
Keep the colours consistent
Light has a colour temperature measured in kelvin. Household bulbs labelled warm white sit low on the scale and look orange on camera; daylight sits much higher and looks blue beside them. Mixing the two puts one colour on each side of the face, and a webcam's white balance cannot fix both at once. Choose bulbs with the same rating, or match them to the daylight from the window. The difference between warm and cool tones is the same one covered in the guide to choosing LED spotlights for the garden. Light that is right at the source also means far less work later in editing, as the explainer on colour correction and colour grading shows.
Ring lights, glasses and other details
- Ring lights sit around the lens and give even, almost shadowless light with a round catchlight in the eyes. They work well as a key for a single face but look flat used alone.
- Glasses reflect anything directly in front of them. Raise the lights and move them further to the side until the reflection leaves the lenses.
- Screens act as a light too. A bright white document on a large monitor casts a cold glow on the face, so dark mode can help in a dim room.
- Background should be a little darker than the face, so the eye goes to the person first.
Switching the whole setup on at once
Once the lamps are placed, putting them on smart plugs lets the whole arrangement turn on with one tap or voice command before a meeting. The same arrangement also produces the evenly lit, sharp photos that AI headshot generators ask people to upload.
Common questions
Is three-point lighting overkill for work calls?
The full version can be. The key light alone, taken from a window, makes the biggest difference. Add fill if one side looks heavy, and treat the back light as a bonus.
Do I need special video lights?
No. Lamps, windows and reflective surfaces follow the same rules. Dedicated LED panels simply make brightness and colour easier to adjust.
Why does my face look orange on camera?
Usually warm household bulbs mixed with daylight or a cool monitor. Matching the bulbs or setting the webcam's white balance manually tends to fix it.
Across the sections
Editor’s picks
 TechnologyAI Headshot Generators: The Fast Track to Professional-Looking Photos3 min
 BusinessEnhancing RAG Systems Through User Feedback2 min
 TechnologyWhat Is a Streaming Stick? A Plain Look at the Plug-In TV Gadget4 min
 BusinessFrom Nigeria to the World: Exploring Citizenship by Investment Programs Abroad3 min
Spotted a mistake?
Suggestions help us plan.
Also explained in Creator Studio
 Creator Studio
 What Is a Jump Cut? J-Cuts, L-Cuts and Other Basic Video Edits
4 min Creator Studio
 What Is B-Roll? Cutaway Footage That Keeps Videos Watchable
4 min Creator Studio
 What Does Royalty-Free Mean? Music for Videos and Podcasts Explained
4 min Creator Studio
 Colour Correction vs Colour Grading: What Each Editing Step Does
4 min Creator Studio
 Dynamic vs Condenser Microphone: Choosing and Setting Up a Podcast Mic
5 min Creator Studio
 What Is Frame Rate? 24, 30 and 60 fps for Video Made Clear
5 min