ExplainedCreator StudioSoftware
What Is a Jump Cut? J-Cuts, L-Cuts and Other Basic Video Edits
A jump cut joins two shots of the same subject from the same angle, so it seems to jump. How to use or hide one, plus J-cuts, L-cuts and other editing terms.
4 min read
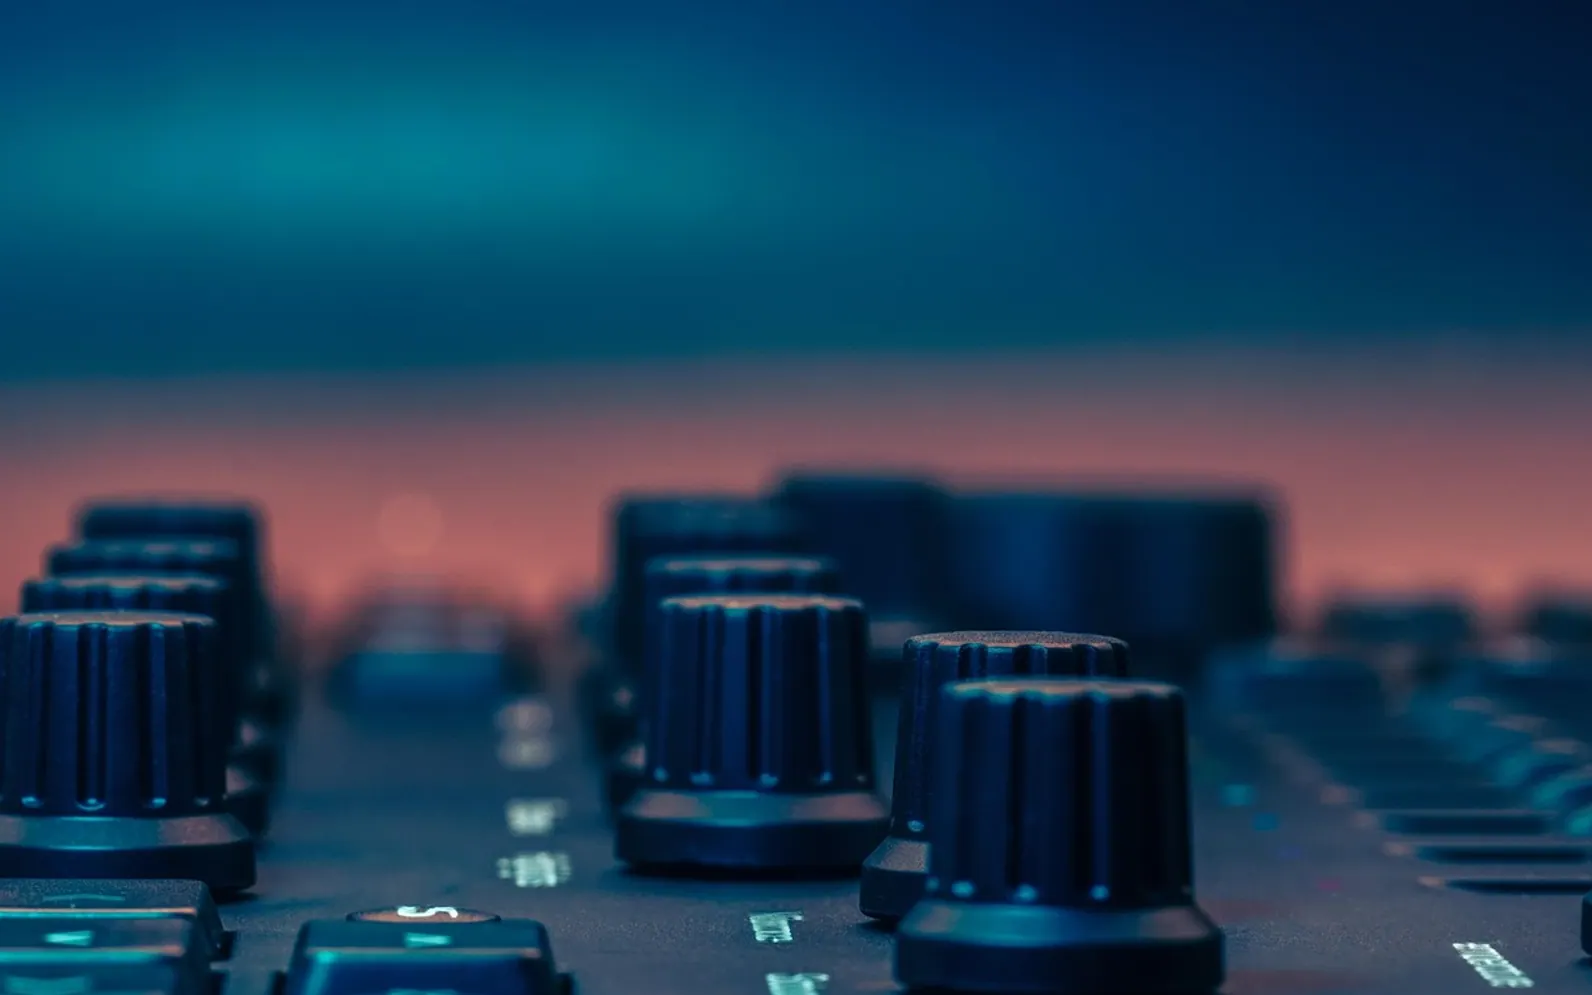
A jump cut is an edit between two shots of the same subject taken from the same, or almost the same, camera position. Because only a moment of time has been removed, the person or object appears to leap within the frame. In a polished drama that leap looks like a mistake. In a fast-moving video essay it can be a deliberate rhythm. Knowing why it happens is the key to using it on purpose.
Why a jump cut feels jarring
Viewers expect continuity. When the camera angle and framing stay identical but the subject's position shifts slightly, the brain notices the gap instead of accepting the cut. Traditional editing avoids this with the 30-degree rule: when cutting between two shots of the same subject, move the camera at least 30 degrees around them, or change the shot size clearly, so the new angle reads as a fresh view rather than a glitch.
Jump cuts on purpose
Filmmakers of the French New Wave around 1960 used jump cuts deliberately to make time feel restless and unpredictable. Today the technique turns up mainly in talking-head videos, where removing every pause, repeated word and false start creates a brisk, energetic delivery. Used that way, the jumps become part of the style. The risk is fatigue: a jump every two seconds for ten minutes wears viewers out.
Softening or hiding a jump cut
- Punch in: enlarge the second clip slightly so it reads as a closer shot. Recording at a higher resolution than the export gives room to do this without softness.
- Cut to another angle: a second camera, even a phone at the side, offers a different view to cut to.
- Cover it with B-roll: place a relevant cutaway over the join, as explained in the guide to B-roll and cutaway footage.
- Cut on movement: a nod, a gesture or a turn of the head draws the eye and disguises the edit.
J-cuts and L-cuts
These two edits are named after the shape the clips make on an editing timeline, where video and audio sit on separate tracks.
| Edit | What happens | Shape on the timeline | Typical use |
|---|---|---|---|
| J-cut | The sound of the next shot starts before its picture appears | The incoming audio extends to the left under the previous clip, like the hook of a J | Hearing a new speaker or a new location just before seeing it |
| L-cut | The picture changes, but the sound of the previous shot carries on | The outgoing audio extends to the right under the next clip, like the foot of an L | Showing a listener's reaction while the speaker keeps talking |
Both make conversations flow, because real attention rarely switches sound and sight at exactly the same instant. A dialogue scene with only straight cuts tends to feel stiff; a few J and L cuts loosen it noticeably.
Other cuts and transitions beginners meet
- Standard cut: one clip ends and the next begins. The vast majority of edits are simply this.
- Match cut: two shots linked by a shared shape, movement or sound, such as a spinning wheel becoming a spinning coin.
- Cutaway: a brief shot of something else in the scene before returning to the main subject.
- Cross-cutting: alternating between two events happening in different places, often to build tension.
- Smash cut: an abrupt jump from a quiet moment to a loud or contrasting one, frequently for comedy.
- Dissolve and fade: one image gradually blends into the next, or into black. Useful for passing time, tiring when overused.
Basic editing vocabulary
Every editing program uses slightly different menus, but the core words travel between them:
- Timeline: the area where clips are arranged in order, with video tracks above audio tracks.
- In and out points: markers that set where a clip starts and stops.
- Razor or blade: the tool that splits a clip in two.
- Ripple delete: removes a section and closes the gap automatically.
- Rough cut and fine cut: the first loose assembly, then the tightened version.
- Export or render: turning the project into a single finished video file.
A first editing workflow
- Copy all media into one project folder and sort clips into bins: interviews, B-roll, music, graphics.
- Set the project to the same frame rate as the main footage before placing anything.
- Assemble a rough cut that tells the whole story, ignoring polish.
- Tighten it, removing pauses and repeats, and decide which jump cuts stay visible.
- Add B-roll, then J and L cuts to smooth conversations.
- Balance audio levels so voices sit clearly above music.
- Correct and grade colour, following the order set out in colour correction vs colour grading.
- Add titles and export.
Keep original files untouched and work on copies or inside the project, the same keep-an-editable-copy habit recommended in simple SVG editing. When choosing an editor in the first place, comparing options side by side, as described in the article on business tool directories, saves paying for features nobody needs.
Common questions
Are jump cuts unprofessional?
Not in themselves. Accidental ones in a calm, polished piece look careless; deliberate ones in a lively talking-head video are an accepted style.
How many transitions should a beginner use?
Fewer than feels tempting. Straight cuts carry most professional edits, with dissolves and fades saved for changes of time or place.
Across the sections
Editor’s picks
 TechnologyAI Headshot Generators: The Fast Track to Professional-Looking Photos3 min
 BusinessEnhancing RAG Systems Through User Feedback2 min
 TechnologyWhat Is a Streaming Stick? A Plain Look at the Plug-In TV Gadget4 min
 BusinessFrom Nigeria to the World: Exploring Citizenship by Investment Programs Abroad3 min
Spotted a mistake?
Suggestions help us plan.
Also explained in Creator Studio
 Creator Studio
 What Is B-Roll? Cutaway Footage That Keeps Videos Watchable
4 min Creator Studio
 What Does Royalty-Free Mean? Music for Videos and Podcasts Explained
4 min Creator Studio
 Colour Correction vs Colour Grading: What Each Editing Step Does
4 min Creator Studio
 Three-Point Lighting for Video Calls: Key, Fill and Back Light at Home
5 min Creator Studio
 Dynamic vs Condenser Microphone: Choosing and Setting Up a Podcast Mic
5 min Creator Studio
 What Is Frame Rate? 24, 30 and 60 fps for Video Made Clear
5 min